

This is a major learning process and I knew I didn’t have the skills required starting out to do this one justice, so I saved it for game number 4! Discworld Ankh-Morpork (unfortunately out of print since the death of Terry Pratchett, the author of the Discworld books) is one of my very favourite games (only one that gives it competition is Cosmic Encounter!) so I wanted to do right by it. After learning a bit about removable parts of inserts while doing my Codenames insert, and my Mysterium insert I decided I wanted to incorporate that idea into Ankh-Morpork too in order to speed up set-up and improve the use of table space.

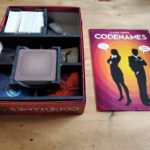
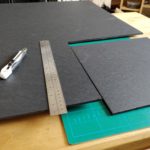
I started out by making a base box that fits into the main box with a sizeable notch to put the gameboard and instruction manual into. Very happy with the cleanliness of the cuts here!

Step 2 was to see how things fit into the box. Here you can see me brainstorming a bit. I want to keep each category listed below separated in the box.
The core component categories are:
- Each player’s coloured pieces (12 minions and 6 buildings each)
- 12 trouble markers
- 4 Demons
- 3 Trolls
- Coins – 17 x $5 and 35 x $1
- One 12-sided die
- 4 player aids
- 48 green cards
- 53 brown cards
- 12 random event cards
- 12 city area cards
- 7 personality cards

Brainstorming measurements here – I’ve settled on the idea of having the following removable trays:
- 4 x player piece
- 1 x Troll/Demon/Trouble marker
- 1 x Coin
- 1 x Place/Random Event/Personality
The draw decks are not getting their own removable tray, because those need to be combined on the table, so they’re getting fixed compartments in the box.
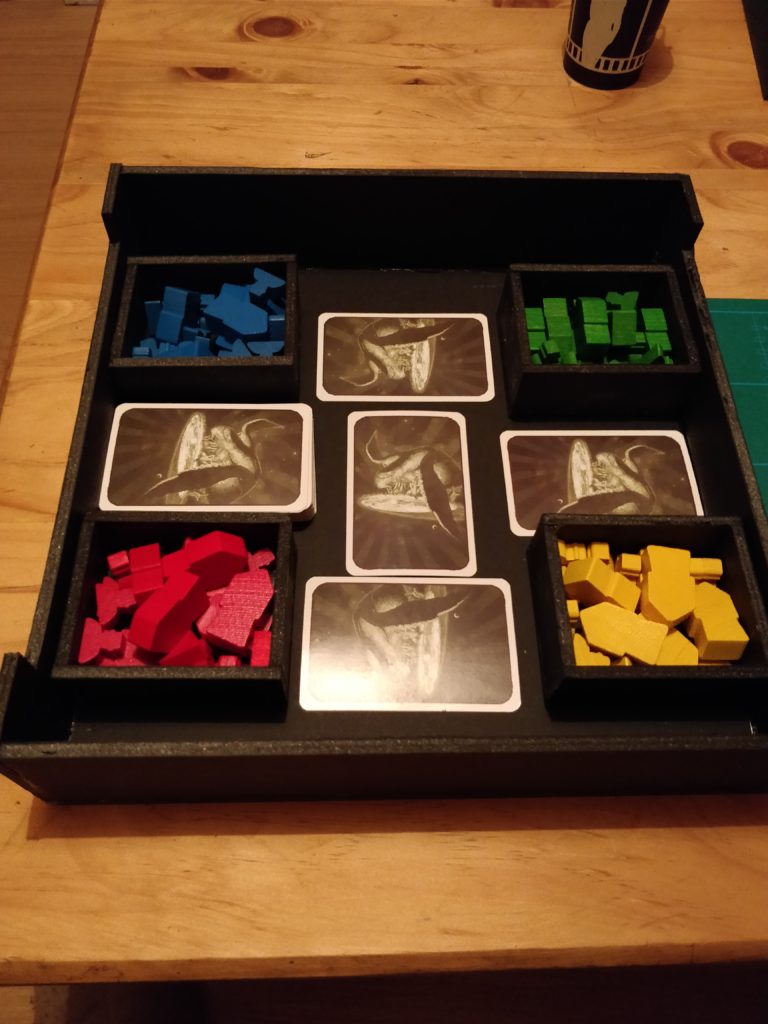
Here you see the completed player trays in the box. They’re deep enough that the pieces don’t need to be set in perfectly and can just be tossed in (more or less – some little bit of rearrangement is required). I’m brainstorming positioning of the cards here.

Here you see the completed coin and trouble trays. These are shorter than the player trays to allow for the removable card tray to be placed on top. The draw deck insert bases are in this shot for working out sizes.

Preparing to assemble the draw deck inserts. Making some nice user-friendly notches to get the cards out!

I didn’t realise that one deck was slightly bigger than the other when I was doing my measuring, but thankfully with my uneven cutting, one of the draw deck holders is slightly taller than the other, so the brown deck fits into that one.

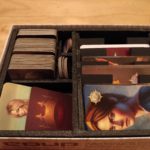
The draw deck compartments in-situ. Here you can also see the guiderails on the base of the box that keep the removable trays from moving around. You can also see the guide slots in the side for the removable card tray.

Here’s my slightly weird card tray being assembled. The idea being to present the cards as a bit of a focal point rather than hiding them away in a side slot.

The completed card tray. Had to do a bit of shaving to get things just right!

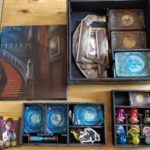
Here’s how everything fits into the box and below is how it looks with the card tray removed. The card tray fits in snugly around the draw decks and player compartments.


The board and instruction manual fit too, thankfully!

I went back after completing the insert and modelled things in SketchUp. I may have tweaked some measurements here and there to make some (what I think are) beneficial changes, so let me know if what I’ve come up with is flawed!
I’m really happy with how this turned out, because it makes set-up super fast as well as avoiding cluttering the table too much. My one problem with it is that some of my guides for the compartments are a little bit tight so sometimes I need to swap positions of a few trays to find the ones that fit less snugly.
Do you still have the Sketch files for this? I’d love to make one as well.
Hi Daniel, thanks for the comment. Yeah, I still have the Sketchup file. Here is a link to the file. Make sure to double check my measurements! Have fun.
I would like to make this insert as well if you still have the files! 🙂
Hi, thanks for your interest! The link in my reply to Daniel should work (just double checked it and it works for me). Happy insert-making!